SONY ERICSSON _ T630 _ T628 _ DISASSEMBLE PROCEDURE GUIDE
 SONY ERICSSON _ T630 _ T628 _ DISASSEMBLE PROCEDURE GUIDE
- Remove the battery cover
with your fingers. Slide the battery cover down.
- Remove the battery from the phone
by overturn the phone.
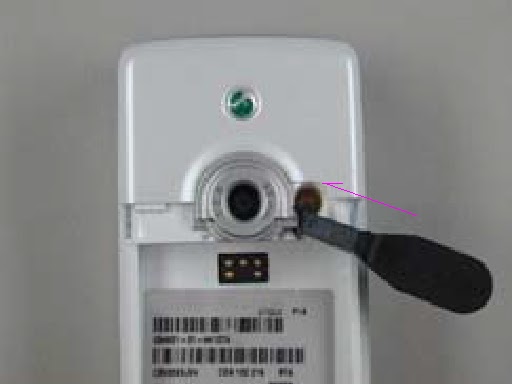
- Remove
the rubber plug, for the external antenna, with a pair of tweezers.
- Remove
the camera ring by using the front opening tool. Place the tool under the camera ring in the arrow direction.
- Turn the tool until a click
sound is heard. Remove the camera ring.
- Remove the antenna cover.
Use the Antenna Cover Opening tool. Push the tool inside the battery cavity in
the arrow direction until it contacts the battery cavity wall. The cover should
only be pushed until the snap lock is released and a .click. sound is heard.
- Be
careful not to damage the close clips on the antenna cover with the antenna
cover opening tool. If you damage it you must replace the antenna cover.
- Remove the antenna cover, with
your fingers, in the arrow (1) direction.
- The on/off key
sometimes falls out when the antenna cover is removed. The arrow (2) shows the
on/off key location.
- Remove the antenna assembly by
using the front opening tool NTZ 112 302.
- Place the thumb on the antenna
assembly at the left side to release the assembly in a controlled way
- Open the phone with the
front opening tool. Be careful not to
scratch the phone with the front opening tool.
- Begin as the picture shows. If necessary gently move the tool along the gap both ways until
the latch on the inside is loose. If necessary do the same thing on the other side.
- Remove
the keyboard with your fingers.
- Lift the display with your fingers.
You may have to loose the latches at the arrows. Do
not touch the display glass with your fingers.
- Remove
the ZIF tape with the help of a pair of tweezers. Open the ZIF-connector, connected
to the display, with a pair of tweezers. Be careful not to damage the
ZIF-connector.
- Remove
the Flex film from the ZIF-connector with the flex film-assembly tool. Use the correct pair of tweezers
- Open
the ZIF-connector, connected to the dome foil assembly, with a pair of tweezers.
- Be careful not to damage the ZIF-connector.
- Remove the Flex film from
the ZIF-connector with the flex film assembly tool.
- Use the correct pair of tweezers.


- Remove
the joystick button with your fingers. The
Joystick may be a little bit tight fitted to the switch. If necessary use a pair of tweezers. Put the tweezers under the joystick button
and press gently upwards. Be careful
not to damage the button, gasket and PCB when using a pair of tweezers.


- Release the PCB from the frame
cavity by overturn the frame.
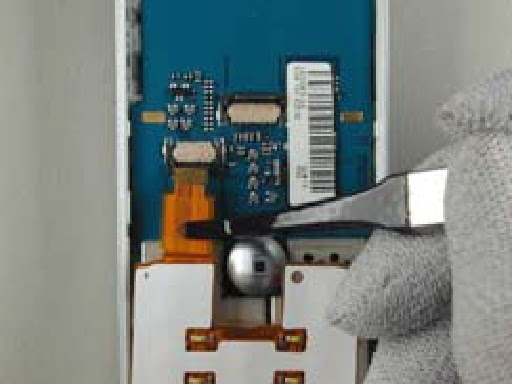
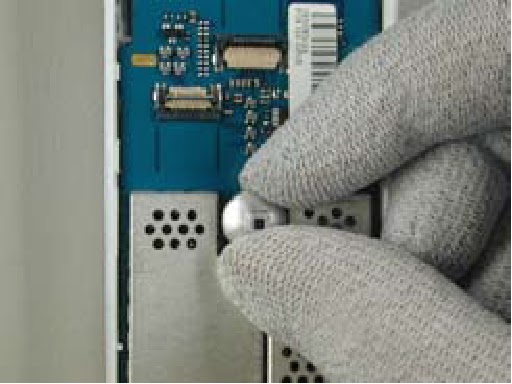
- Tilt the camera and remove it from the camera
holder by sliding it gently with your fingers in the arrow direction. Be careful not to damage the camera holder
or camera flexfilm when removing the camera.
Lift the camera board to board connector gently with a pair of
tweezers. Be careful not to damage the components on the PCB
when using the pair of tweezers

- Remove the system connector from
the board with your fingers.
- Remove the speaker gasket. Use a pair of tweezers. Removed speaker gasket can not be reused and
must be scrapped. Do not touch the
contact pads on the speaker
with your fingers.
- Pick
up the speaker from the frame cavity with a pair of tweezers. Do not touch the contact pads on the speaker
with your fingers.
- Pick
up the microphone from the frame with a pair of tweezers.
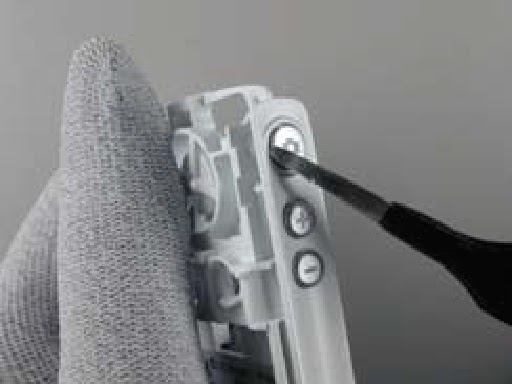
- Gently
push the camera key and the two volume keys in from the outside. Be gentle.
Keys might be cosmetically damaged if pushing to hard. Pick
it up on the inside with a pair of tweezers.
The rubber can be damaged when picking it up.
- Remove the internet access key
by gently pushing it in from the outside.
Be gentle. The rubber can be
damaged when picking it up. Pick
it up on the inside with a pair of tweezers.
- Remove
the Sim lock lid with your fingers by first open it. Lift it up and then pull it backwards.