SHARP LC32HT3U - LC37HT3U - LC42HT3U - ADJUSTMENT PROCEDURE

After replacement of any PWB unit and/or IC for repair, note the following.
- When replacing the following units, make sure to prepare the new units loaded with updated software.
- MAIN Unit: DUNTKE285FM01
- AV TERMINAL Unit: DUNTKD999FM04
UPGRADING MICROPROCESSOR SOFTWARE
Caution: Never “POWER OFF” the unit when software
upgrade is ongoing. Otherwise the
system may be damaged beyond recovery.
The model employs the
following software.
- Main software
- Monitor microprocessor software
- The main software and the monitor microprocessor software can be upgraded by using a general-purpose SD memory card.
- The followings are the procedures for upgrading, explained separately for each of the main software, the monitor microprocessor software.
MAIN SOFTWARE VERSION UPGRADE
Get ready with
- SD memory card of 32MB or higher capacity
- PC running on Windows 98/98SE/ME/2000/XP operating system
- SD memory card reader/writer with USB connectivity.
- SD memory card formatting software. The software can be downloaded by this link.
PREPERATIONS
- To upgrade the main software, it is necessary to get ready the SD card for version upgrade before you start. Follow the steps below and create the SD card for version upgrade.
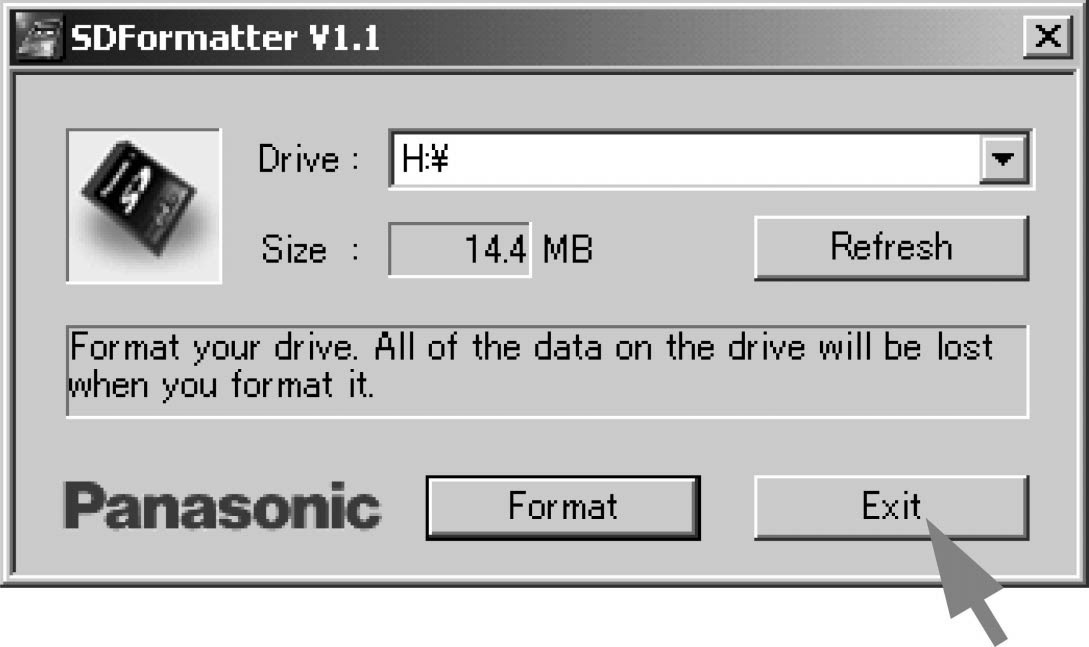
- Insert the SD card into the SD card reader/writer. Start the SD card formatting software. Click [Format]. (When you have the drive options, select the drive where the SD card is inserted before you proceed.)

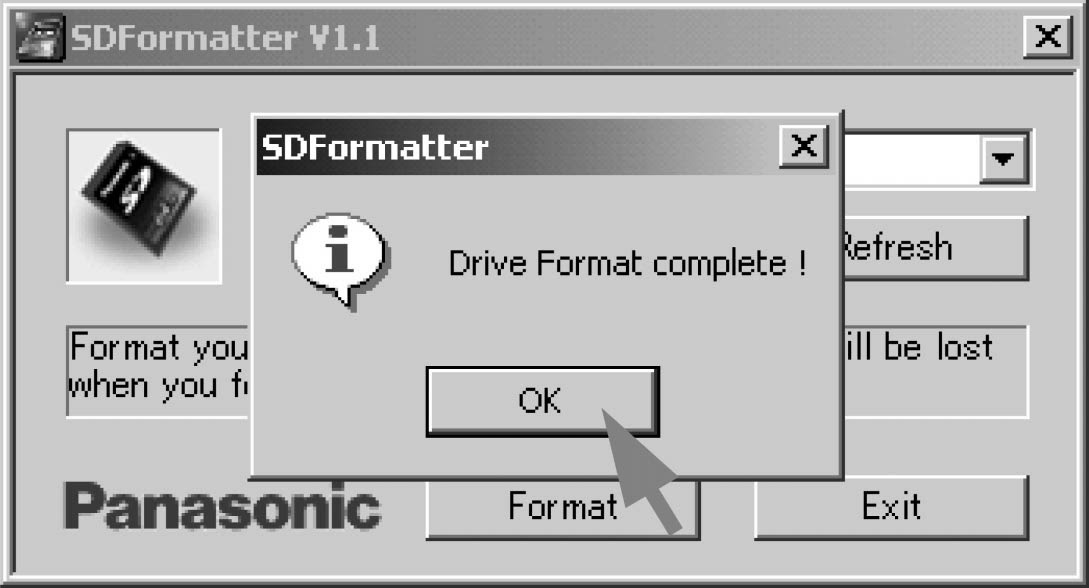
- When the formatting is over, the following window appears. Click [OK].
- Click [Exit] to finish the formatting. NOTE: When you are done, take out the SD card once to make sure it is finished, and then insert it again.
- Copy the binary image file HT3UAxxx.SDC (named temporarily) for version upgrade to the root directory (folder) of the SD card drive. NOTE: In the SD card drive, do not store other folders or unrelated files, or more than one binary image files for version upgrade. Now the SD card for version upgrade is ready.
TO UPGRADE SOFTWARE
- Shut off the AC power (i.e. unplug the AC cord).
- Insert the SD card for version upgrade (prepared as above) into the service socket located lower side from center at terminals, under DIGITAL AUDIO OUTPUT terminal in the rear of the unit, in a way that the cut corner of the SD card comes at the upper side. NOTE: If the SD card is inserted in a wrong way, the card will go deep inside the unit beyond retrieval. Take due care to insert the SD card correctly.
- Turn on the AC power (i.e. plug in the AC cord).
- After the unit startup, the system upgrade screen as shown below appears within 15~30 seconds.
- Even a single failure in the process will trigger the upgrade failure screen as shown below. The word “NG” changes to red for the item failed. NOTE: In the event of a failure, repeat the upgrading process. If the process repeatedly fails, it is likely that the hardware is troubled.
- Upon completion of the whole process, the upgrade success screen as shown below appears. You can check the new software version on this screen. The version information appears after the upgrade is complete.
- Shut off the AC power to the unit (unplug the AC cord), and remove the SD card for version upgrade.
- Now the software version upgrade is complete. NOTE: When you are done with the software version upgrade, start the set, go to the top page of the adjustment process screen and check the main software version information.
MONITOR MIRCROPROCESSOR SOFTWARE UPGRADE
NOTE: If “Monitor version” in
the process menu is “2.00M”, the monitor microprocessor software can not be
rewritten (because IC2002 has been replaced with the mask type).
- Create the SD card for monitor microprocessor software version upgrade in the same manner as explained in the “Main software version upgrade”. Copy the binary image files HT3UVxxx.SDC and D42UMxxx.BIN (named temporarily) for monitor microprocessor software version upgrade to the SD card drive.
- Shut off the AC power to the unit (i.e. unplug the AC cord).
- Insert the SD card for version upgrade (prepared as above) into the service socket located lower side from center at terminals, above S-VIDEO terminal in the rear of the unit, in a way that the cut corner of the SD card comes at the upper side. NOTE: If the SD card is inserted in a wrong way, the card will go deep inside the unit beyond retrieval. Take due care to insert the SD card correctly.
- Turn on the AC power (i.e. plug in the AC cord).
- After the unit startup, the system upgrade screen as shown below appears within 15~30 seconds.
- A failure in the process will trigger the upgrade failure screen. The word “NG” changes to red for the item failed. NOTE: In the event of a failure, repeat the upgrading process. If the process repeatedly fails, it is likely that the hardware is troubled.
- Upon completion of the whole process, the upgrade success screen as shown below appears. You can check the new software version on this screen. The version information appears after the upgrade is complete.
- Shut off the AC power to the unit (unplug the AC cord), and remove the SD card for version upgrade.
- Now the software version upgrade is complete. NOTE: When you are done with the software version upgrade, start the set, go to the top page of the adjustment process screen and check the monitor microprocessor software version information.