REPAIRING AND NOT THROWING AWAY

Richtige Fernseher haben Röhren!

Richtige Fernseher haben Röhren!

In Brief: On this site you will find pictures and technical information about Service Modes, Circuit Diagrams, Firmware Update procedure, Disassemble procedure, Universal remote control set-up codes, Troubleshooting and more....

If you go into the profession, you will obtain or have access to a variety of tech tips databases HERE IT IS Master Electronics Repair !.

These are an excellent investment where the saying: 'time-is-money' rules. However, to learn, you need to develop a general troubleshooting approach - a logical, methodical, method of narrowing down the problem. A tech tip database might suggest: 'Replace C536' for a particular symptom. This is good advice for a specific problem on one model. However, what you really want to understand is why C536 was the cause and how to pinpoint the culprit in general even if you don't have a service manual or schematic and your tech tip database doesn't have an entry for your sick TV or VCR.

While schematics are nice, you won't always have them or be able to justify the purchase for a one-of repair. Therefore, in many cases, some reverse engineering will be necessary. The time will be well spent since even if you don't see another instance of the same model in your entire lifetime, you will have learned something in the process that can be applied to other equipment problems.
As always, when you get stuck, checking out a tech-tips database may quickly identify your problem and solution.In that case, you can greatly simplify your troubleshooting or at least confirm a diagnosis before ordering parts.

Happy repairing!
Today, the West is headed for the abyss. For the ultimate fate of our disposable society is for that society itself to be disposed of. And this will happen sooner, rather than later.

How to use the site:

- If you landed here via any Search Engine, you will get what you searched for and you can search more using the search this blog feature provided by Google. You can visit more posts scrolling the left blog archive of all posts of the month/year,
or you can click on the main photo-page to start from the main page. Doing so it starts from the most recent post to the older post simple clicking on the Older Post button on the bottom of each page after reading , post after post.

You can even visit all posts, time to time, when reaching the bottom end of each page and click on the Older Post button.

- If you arrived here at the main page via bookmark you can visit all the site scrolling the left blog archive of all posts of the month/year pointing were you want , or more simple You can even visit all blog posts, from newer to older, clicking at the end of each bottom page on the Older Post button.
So you can see all the blog/site content surfing all pages in it.

- The search this blog feature provided by Google is a real search engine. If you're pointing particular things it will search IT for you; or you can place a brand name in the search query at your choice and visit all results page by page. It's useful since the content of the site is very large.

Note that if you don't find what you searched for, try it after a period of time; the site is a never ending job !

..............The bitterness of poor quality is remembered long after the sweetness of todays funny gadgets low price has faded from memory........ . . . . . .....
Don't forget the past, the end of the world is upon us! Pretty soon it will all turn to dust!

©2010, 2011, 2012, 2013, 2014 Frank Sharp - You do not have permission to copy photos and words from this blog, and any content may be never used it for auctions or commercial purposes, however feel free to post anything you see here with a courtesy link back, btw a link to the original post here , is mandatory.
All posts are presented here for informative, historical and educative purposes as applicable within fair use. NOTHING HERE IS FOR SALE !

Wednesday 13 February 2019

LG - 19LE 3300 _ 19LE 3308 _ 19LE 3310 - 19LE 330N _ TOTAL ASSEMBLY LINE PROCESS ADJUSTMENTS.

LG - 19LE 3300 _ 19LE 3308 _ 19LE 3310 - 19LE 330N _ Total Assembly Line Process Adjustments.


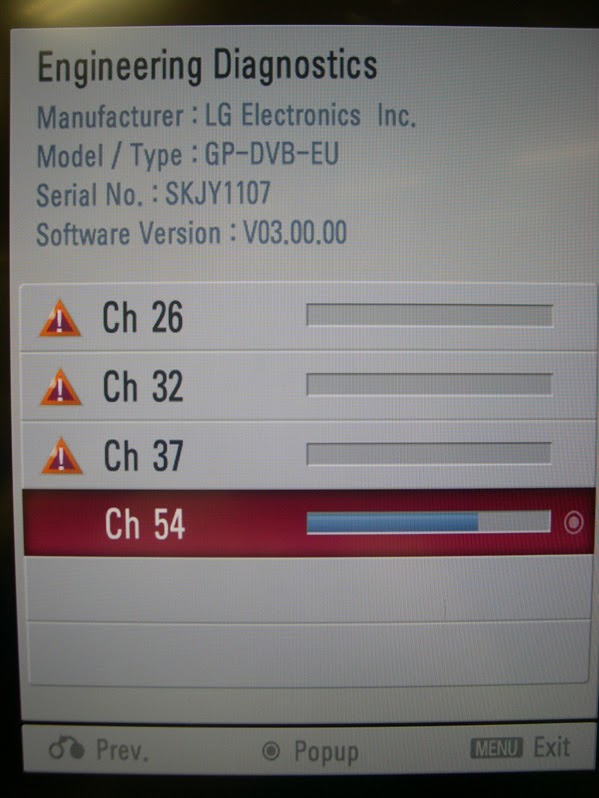
ADJUSTMENT PREPARATION
Connection picture of the measuring instrument [On automatic control]
  • Inside pattern is used when White Balance is controlled.  Connect to auto controller or push Adjustment Remote Control  Power On --> Enter the Mode of White Balance, the pattern will come out.

AUTO CONTROL INTERFACE & DIRECTIONS
  • Adjust in the place where the influx of light like floodlight around is blocked.  Illumination is less than 10 lux.
  • Adhere closely the Color Analyzer [CA210] to the module less than 10cm distance, keep it with the surface of the Module and Color Analyzers' prove vertically  [80 ~ 90 Degree]
  • Aging time -- After aging start, keep the power On, no suspension of power supply, and heat-run over 5 minutes. 
  • Using 'no-signal'or 'full white' pattern or the others check the back light on
Auto adjustment map [RS-232C]

RS-232 COMMAND
CMD     ID     DATA

WB        00        00 [White balance start] 
Wb         00        ff  [White balance end]


RS-232C Command


Min

Default

Max

Cool
Mid
Warm

Cool
Mid
Warm


R-Gain
jg
ja
jd
00
172
192
192
192
G Gain
jh
jb
je
00
172
192
192
192
B Gain
ji
jc
jf
00
192
192
172
192
R Cut


64
64
64
128
G Cut


64
64
64
128
B Cut


64
64
64
128


  • Color temperature: Cool, Medium, Warm
  • One of R gain | G gain | B gain  should be kept on 0xC0, and adjust the other two lower than C0.
W/B process using adjust remote control
  • After enter Service Mode by pushing the"ADJ"key.
  • Enter White Balance by pushing  " > " key at '6'; White Balance.
  • After done all adjustments, Press "In-Start'" button and compare Tool option value with the BOM and if it is correctly the same with BOM, unplug AC cable.
  • Push the "In-Stop" key after completing the function inspection.  Mechanical Power Switch must be set On.


AUTO DOWNLOAD
  • Push "ADJ" key to enter Service Mode.
  • Enter EDID D/L Mode
  • Enter 'Start' by pushing 'OK' key.


MANUAL DOWNLOAD
  • Use proper signal cables for EDID Download
  • Analog EDID:  Pin 3 exists.
  • Digital EDID:   Pin 3 exists.
  • Never connect HDMI and D-DSub cables at the same time.
  • Use the proper cables below for EDID writing.
  • Download HDMI 1, HDMI 2, separately as HDMI 1 is different to HDMI 2. 
D-Sub to D-Sub Connector [For analog EDID]


For HDMI EDID:  DVI-D to HDMI [or] HDMI to HDMI


Item
Condition
Data (Hex)

Manufacturer ID
GSM
1E6D
Version
Digital: 1
01
Revision
Digital: 2
03

EDID OPTIONS
Model name
HEX
EDID Table
DDC function
HD model
0000
00 00
Analog | Digital
Serial Number:  Controlled on production line.
Month, Year:  Controlled on production line.

Model Name
  • Model => All
  • Model Name [Hex]:  00 00 00 FC 00 4C 47 20 54 56 0A 20 20 20 20 20 20 20
  • Checksum:  Changeable by total EDID data.
  • Vendor Specific (HDMI)
INPUT
MODEL NAME [HEX]
HDMI 1
65030C001000011D
HDMI 2
65030C002000011D

HDMI 3
65030C003000011D
MANUAL DOWNLOAD [MODEL NAME AND SERIAL NUMBER]
  1. Press the "In-Start" key of ADJ remote control.
  2. Go to 'Menu-5' . Model number D|L' like below.
  3. Input Factory Model Name or serial number like photo.


  • Check the model name instart menu => Factory Name displayed [ex 42LD450-ZA]
  • Check Diagnostics [DTV country only] => Buyer model displayed [ex: 42LD450]